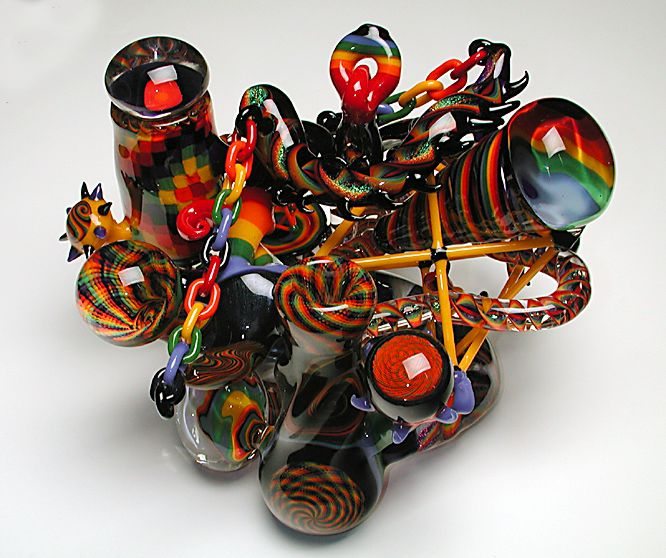
If you are looking for a way to enjoy your herb or tobacco without spending a lot of money on a store-bought bong, you might want to try making your own at home. A homemade glass bong can be a fun and creative project that will give you a unique smoking experience. All you need are some simple materials and tools that you can find around your house or at a local hardware store.
In this blog post, we will show you how to make a homemade glass bong in 8 simple steps. You will need:
- A glass bottle with a long neck and a wide base
- A 3/4″ diamond drill bit
- A battery-powered drill
- A 14mm glass bowl and downstem
- A rubber grommet with an outside diameter of 31/32″, an inner diameter of 1/2″, and a 3/4″ groove
- Water
- Safety goggles
- Herb or tobacco of your choice
Step 1: Clean the bottle and mark the spot to drill
First, you need to clean the bottle and remove any labels or stickers that might be on it. Then, you need to mark the spot where you will drill the hole for the downstem. The hole should be slightly above the waterline, on the upper curve of the body of the bottle. You can use the grommet as a guide and trace a circle around it with a sharpie.
Step 2: Prepare your tools and drill the hole
Next, you need to attach the diamond drill bit to your drill and put on your safety goggles. You also need to run some water over the spot where you will drill, to keep the glass cool and prevent it from cracking. Then, you need to start drilling slowly, at about 3/4 of the maximum speed of your drill. Apply gentle pressure and keep the drill steady until you make a clean hole through the glass.
Step 3: Insert the grommet and the downstem
After drilling the hole, you need to insert the rubber grommet into it. The grommet will help seal the hole and prevent any air leaks. Then, you need to insert the glass downstem through the grommet, at an angle so that the end inside the bottle is submerged in water. The bowl should be facing upward on the outside of the bottle.
Step 4: Fill up the bottle with water
Now, you need to fill up the bottle with water until it covers about an inch of the downstem. The water will act as a filter and cool down the smoke when you inhale. You can also add some ice cubes to make the smoke even smoother.
Step 5: Pack the bowl with herb or tobacco
The next step is to pack the bowl with your favorite herb or tobacco. You can use a grinder or your fingers to break up the material into small pieces. Then, you can use a spoon or your fingers to fill up the bowl loosely. Don’t pack it too tight or it will restrict the airflow.
Step 6: Light up and enjoy
You are almost done! The final step is to light up your homemade glass bong and enjoy. To use it, you need to hold the bottle in one hand and cover the carb hole with your finger. The carb hole is the hole that you made at the top of the bottle, near the neck. Then, you need to put your mouth over the mouthpiece of the bottle and light up the bowl with a lighter. As you do so, inhale slowly and watch as the smoke fills up the bottle.
Step 7: Clear the smoke from the bottle
When you are ready to take a hit, you need to remove your finger from the carb hole and inhale quickly. This will clear all the smoke from the bottle into your lungs. Hold it in for as long as you can, then exhale slowly.
Step 8: Repeat as desired
You can repeat steps 6 and 7 as many times as you want, until you finish your bowl or feel satisfied. Remember to change the water in your bong regularly, as it will get dirty and affect the taste and quality of the smoke. You can also clean your bong with some rubbing alcohol and salt, to remove any residue or buildup.
Congratulations, you have just made your own homemade glass bong with simple materials! We hope you enjoyed this tutorial and have fun with your new bong. Happy smoking!


